ArCADia BIM: Texture Differentation on Walls - method 1
. This option will be available with the Advanced 3D mode, but if your graphic card does not have good enough specs to create a visualisation, the ArCADia-ARCHITECTURE module will help you with it.
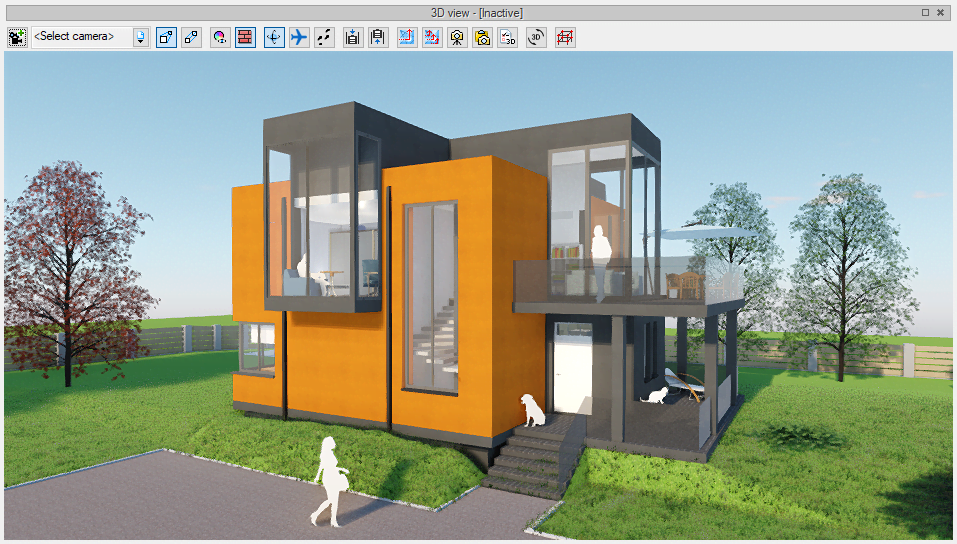
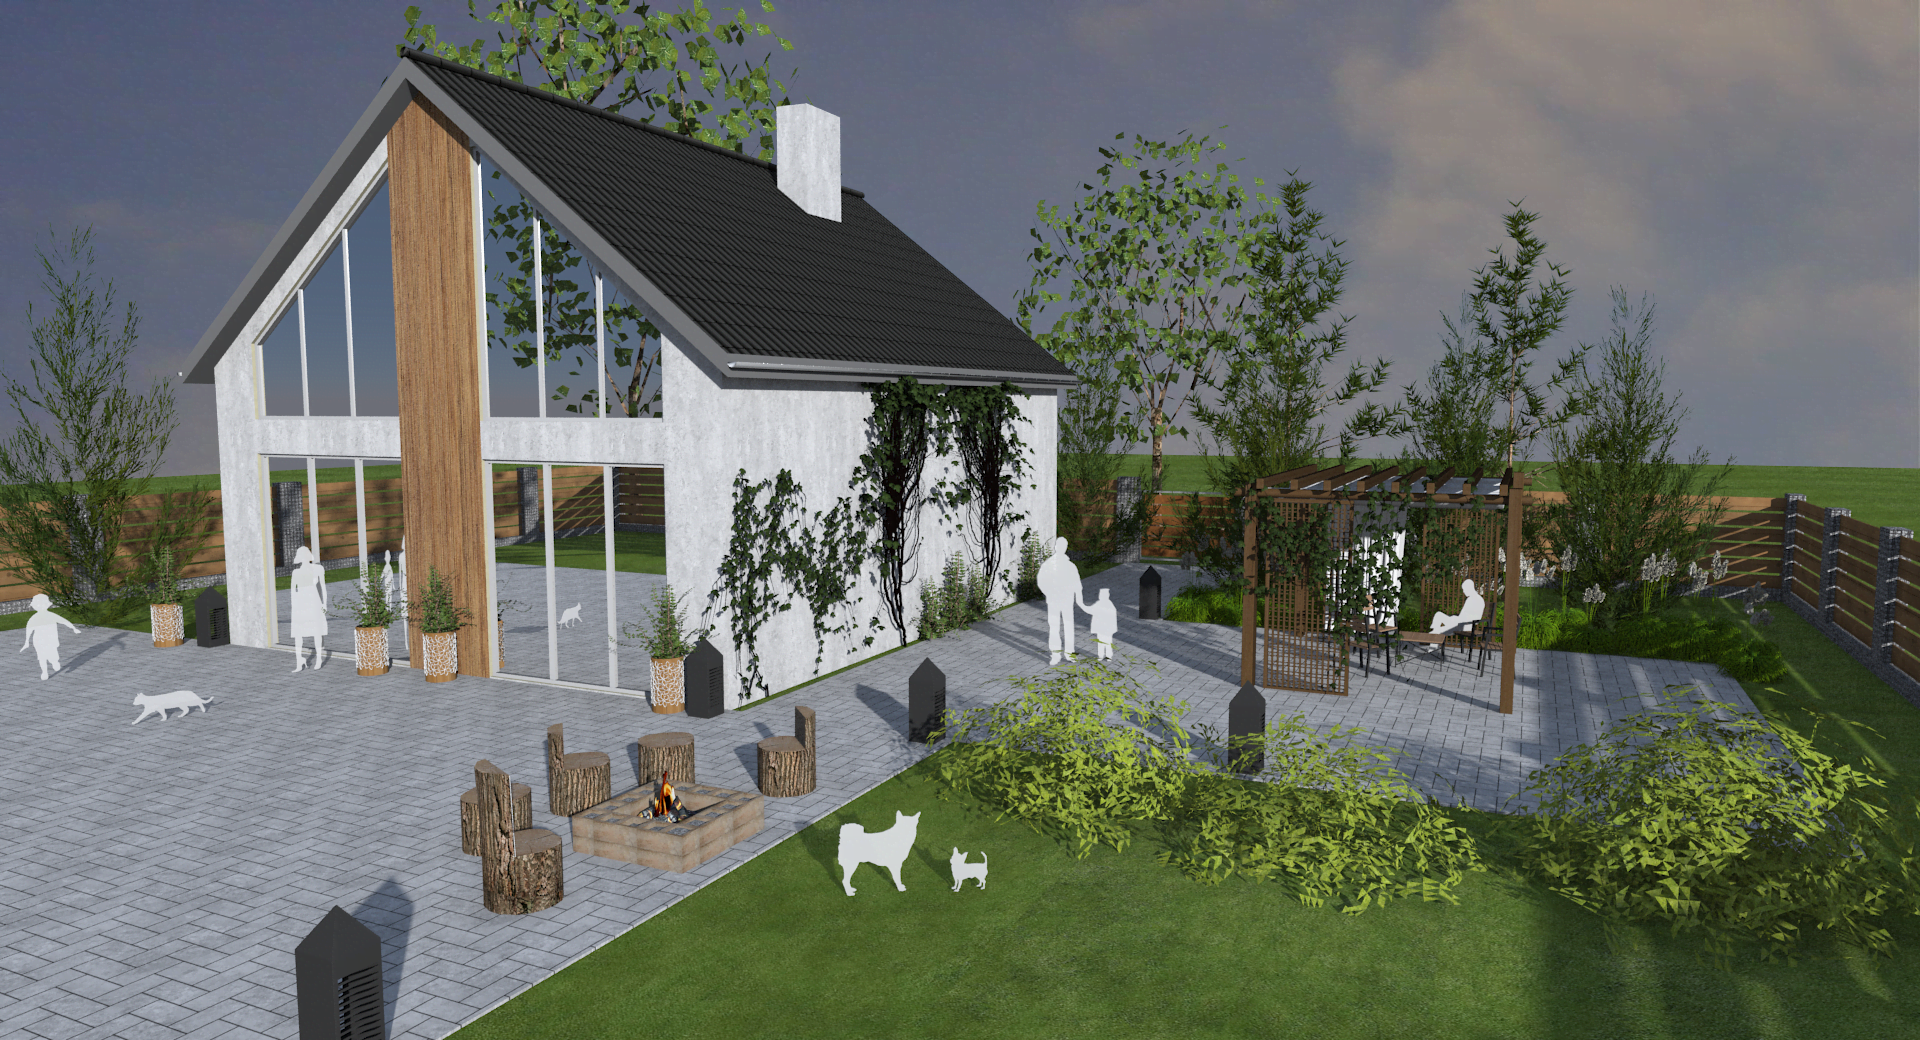
Textures applied to walls are placed on the entire plane of the left, right or side surface. What to do if you want to vary the facades? How to apply texture to a strip or any part of the wall? There are several ways to do this in ArCADia BIM but the main way is to choose the 3D object from the built-in library, and in the ArCADia ARCHITECTURE module use the Solid option. Let's start with some simple examples:
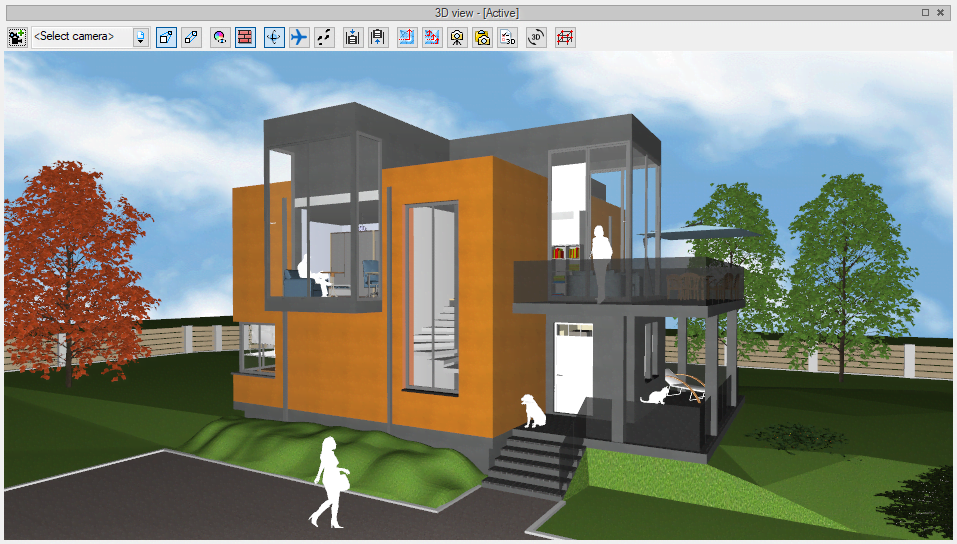
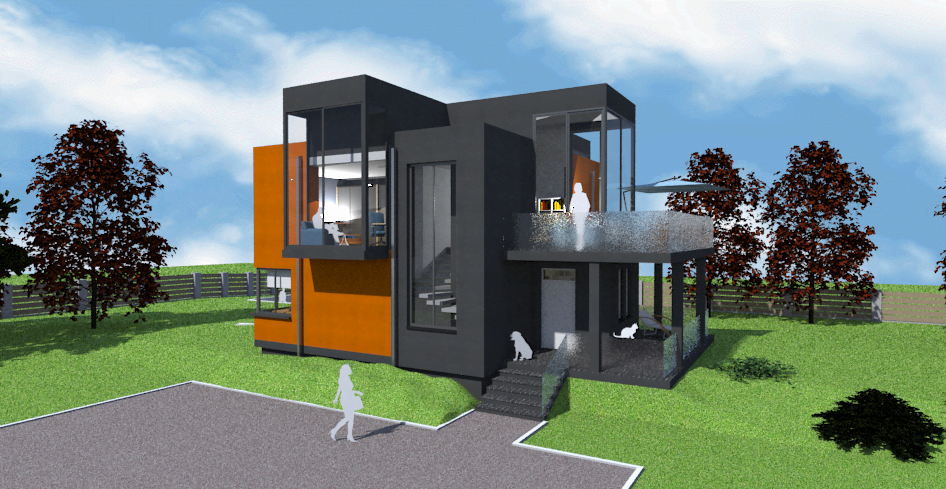
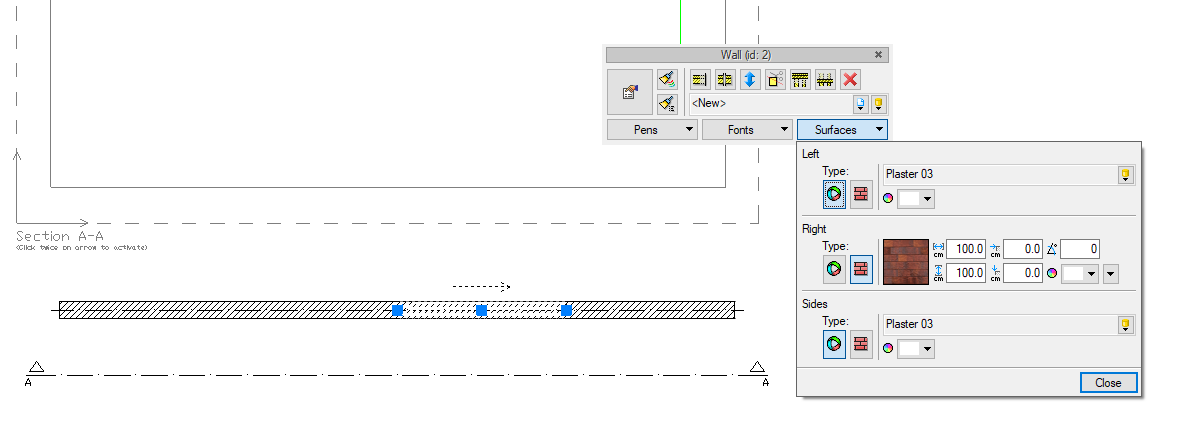
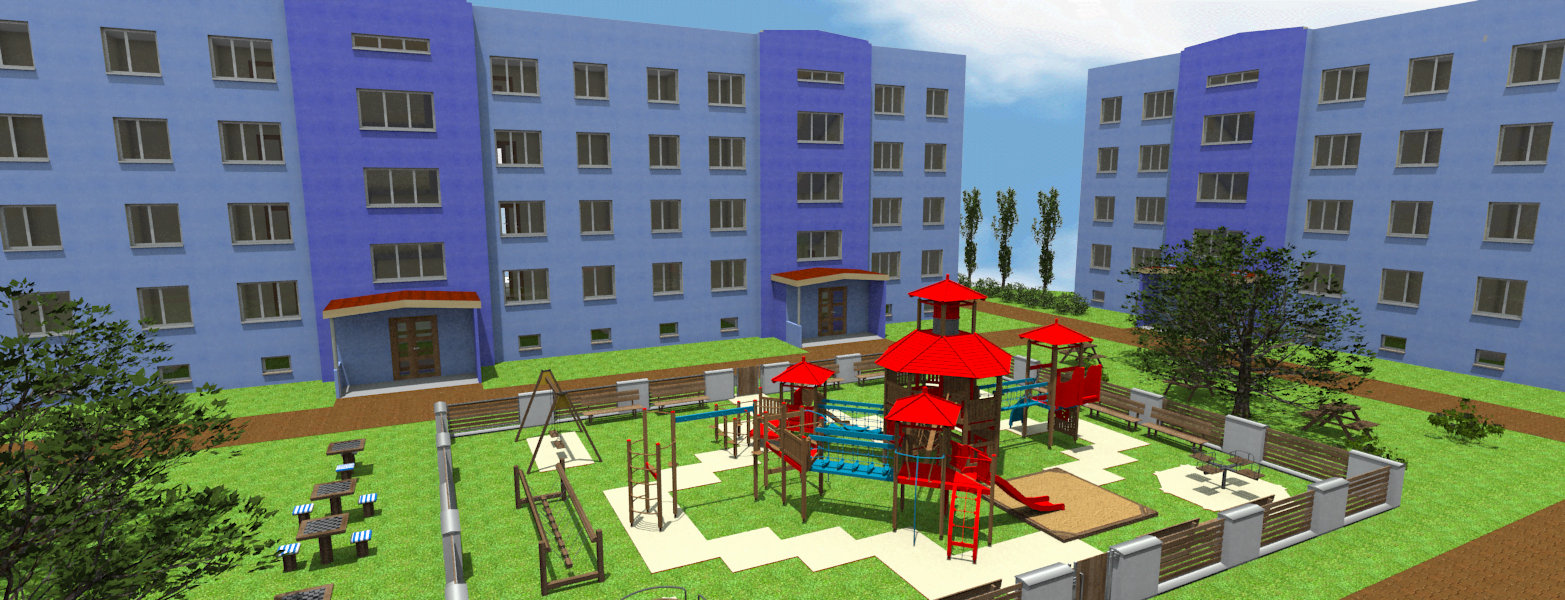
Differently textured walls on different levels are easy, but a vertical strip of different texture going through all the levels, that is a bit different. In ArCADia, the matter is very simple, the front wall has been divided. In the above cases, a strip of a different texture occupies the width of the staircase, so the walls are split on the wall joint (the wall has been selected and from the edit window of the small window that appears after choosing the element, the Split Wall option has been selected). However, this can be done anywhere and you will not see it, even if the wall at the point of division has no connections to others.
Neither on the view nor the cross-section shows where the wall is divided. Below the middle part is marked and only in this case you can see the division of this wall.
When dividing the wall, remember that windows and doors are only in one part of the wall, this means that if you divide the wall too close or in the wrong place, the window or door will be removed. Sometimes, with thinner stripes, it is better to apply an solid to a part of the wall. A thin slice, e.g. of the level height, and repeated on each level. Of course, the solids do not have to be divided into levels, you can apply it on the ground floor and add height to the end of the last level.
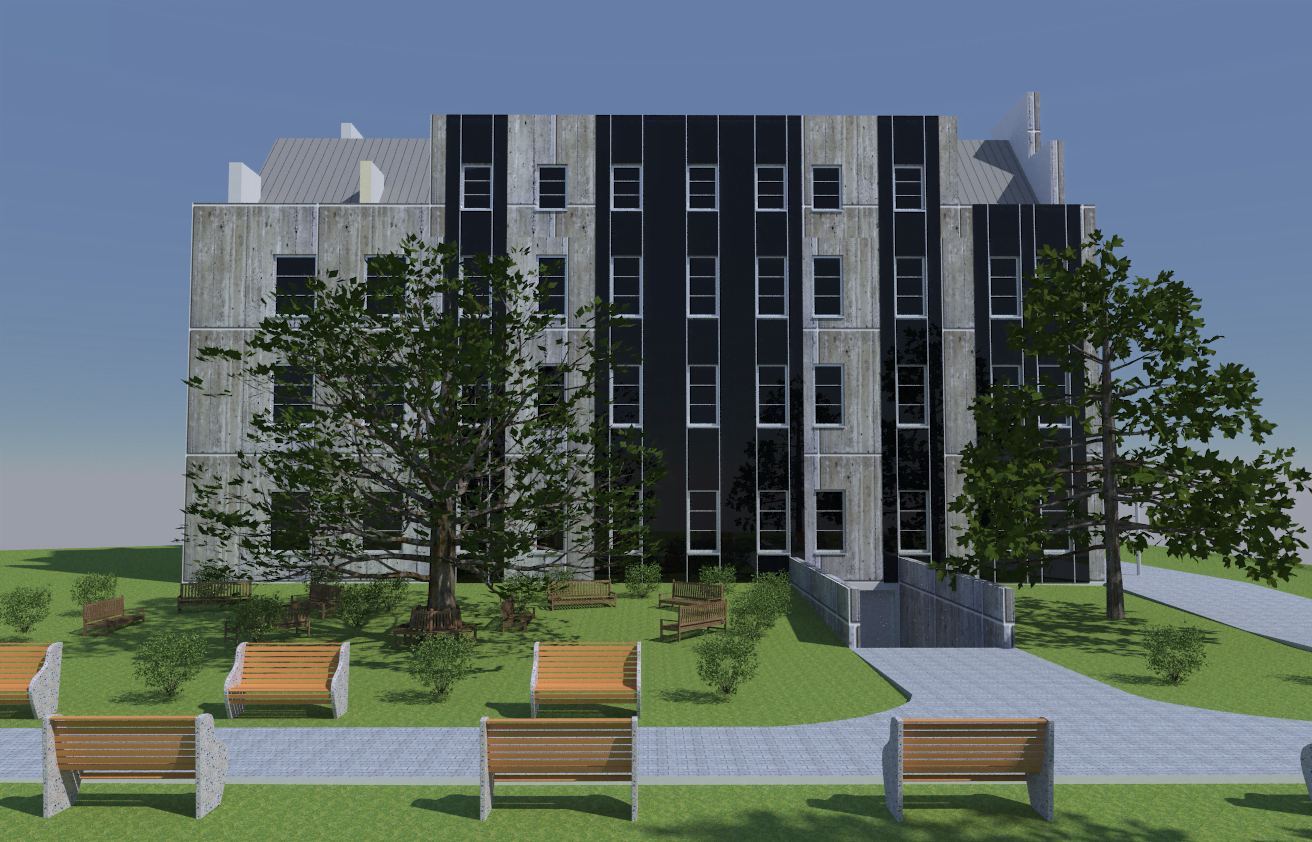
In the above case, the thin stripes strongly marked on the navy blue stripes are thin columns. You can also obtain such a break by the space between the solids (or 3D objects), it depends on the effect you want to achieve.
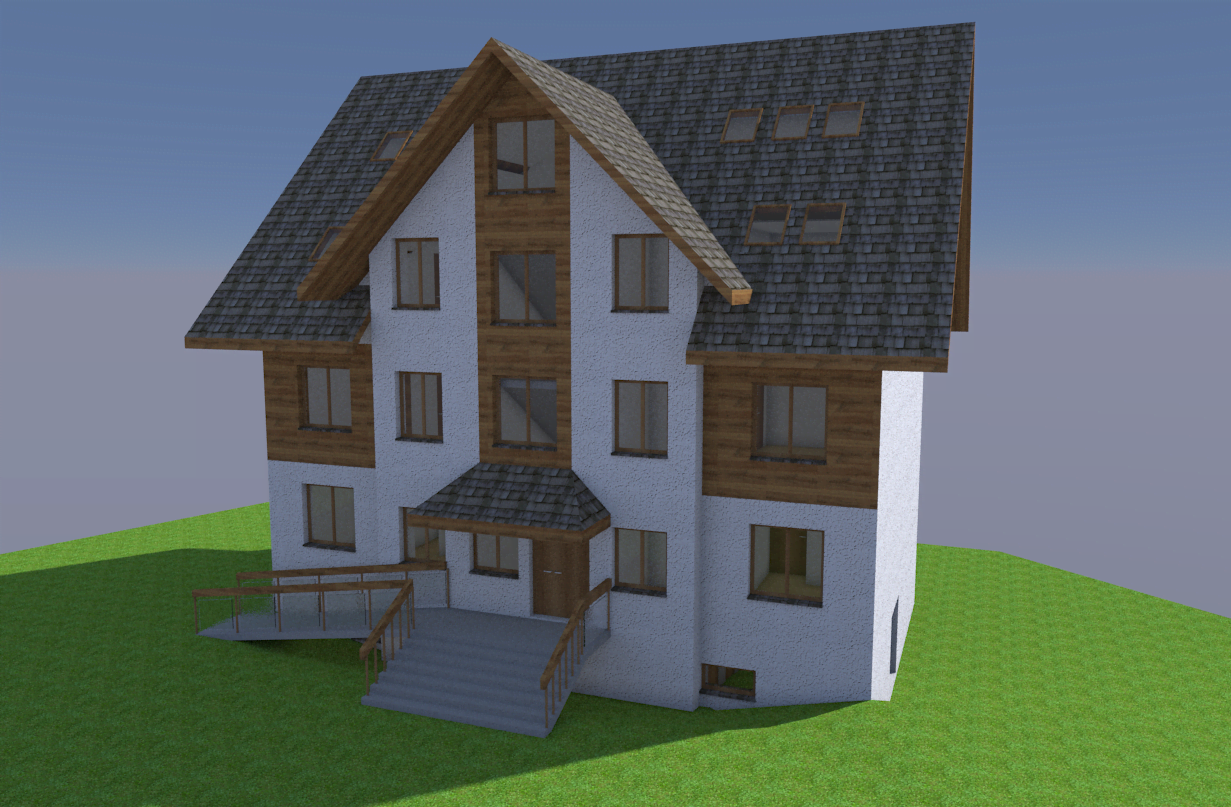
When it comes to horizontal stripes, we don’t suggest putting walls on top of each other to differentiate them in colour. The main arguments against such a solution are windows and doors. You must remember that you can only introduce them into one part of the wall. With horizontal divisions, we suggest playing with a solid (or 3D objects).
Copyright © 2021 ArCADiasoft
ГОЛОВНА | ПРОДУКЦІЯ | ПРО НАС | КОНТАКТИ | ДЛЯ ПРЕДСТАВНИКІВ


