Importing an IFC file and model management
The model from the IFC file can be imported into the program and treated simply as an underlay. To do this, select the IMPORT IFC option and indicate the file to be inserted into the program.
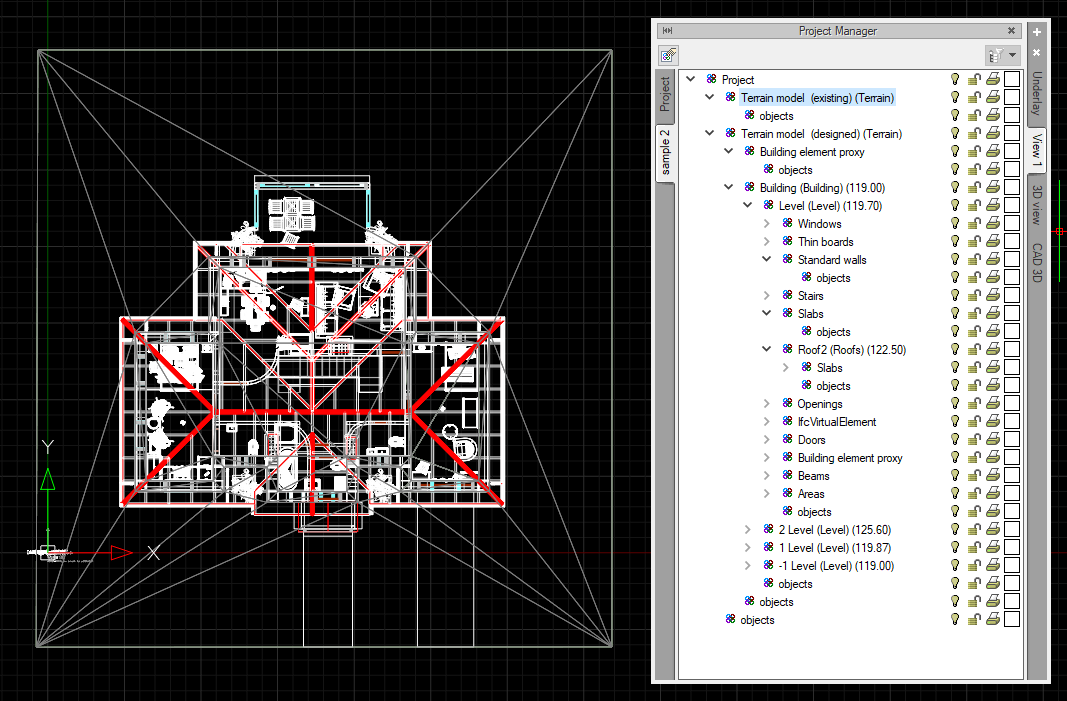
After loading the file, on the left side of the Project Manager, an additional tab will be inserted, in which all the components of the model are visible.
The IFC model is managed independently of the model created in ArCADia, and more than one IFC model can be imported into the project. To be able to delete individual models or add new ones, we open the IFC Model Manager.
After importing the IFC file, the model will be inserted in the XYZ space with the coordinates in which it was created.
In the upper left corner of the Project Manager window, two options are available for the IFC model:
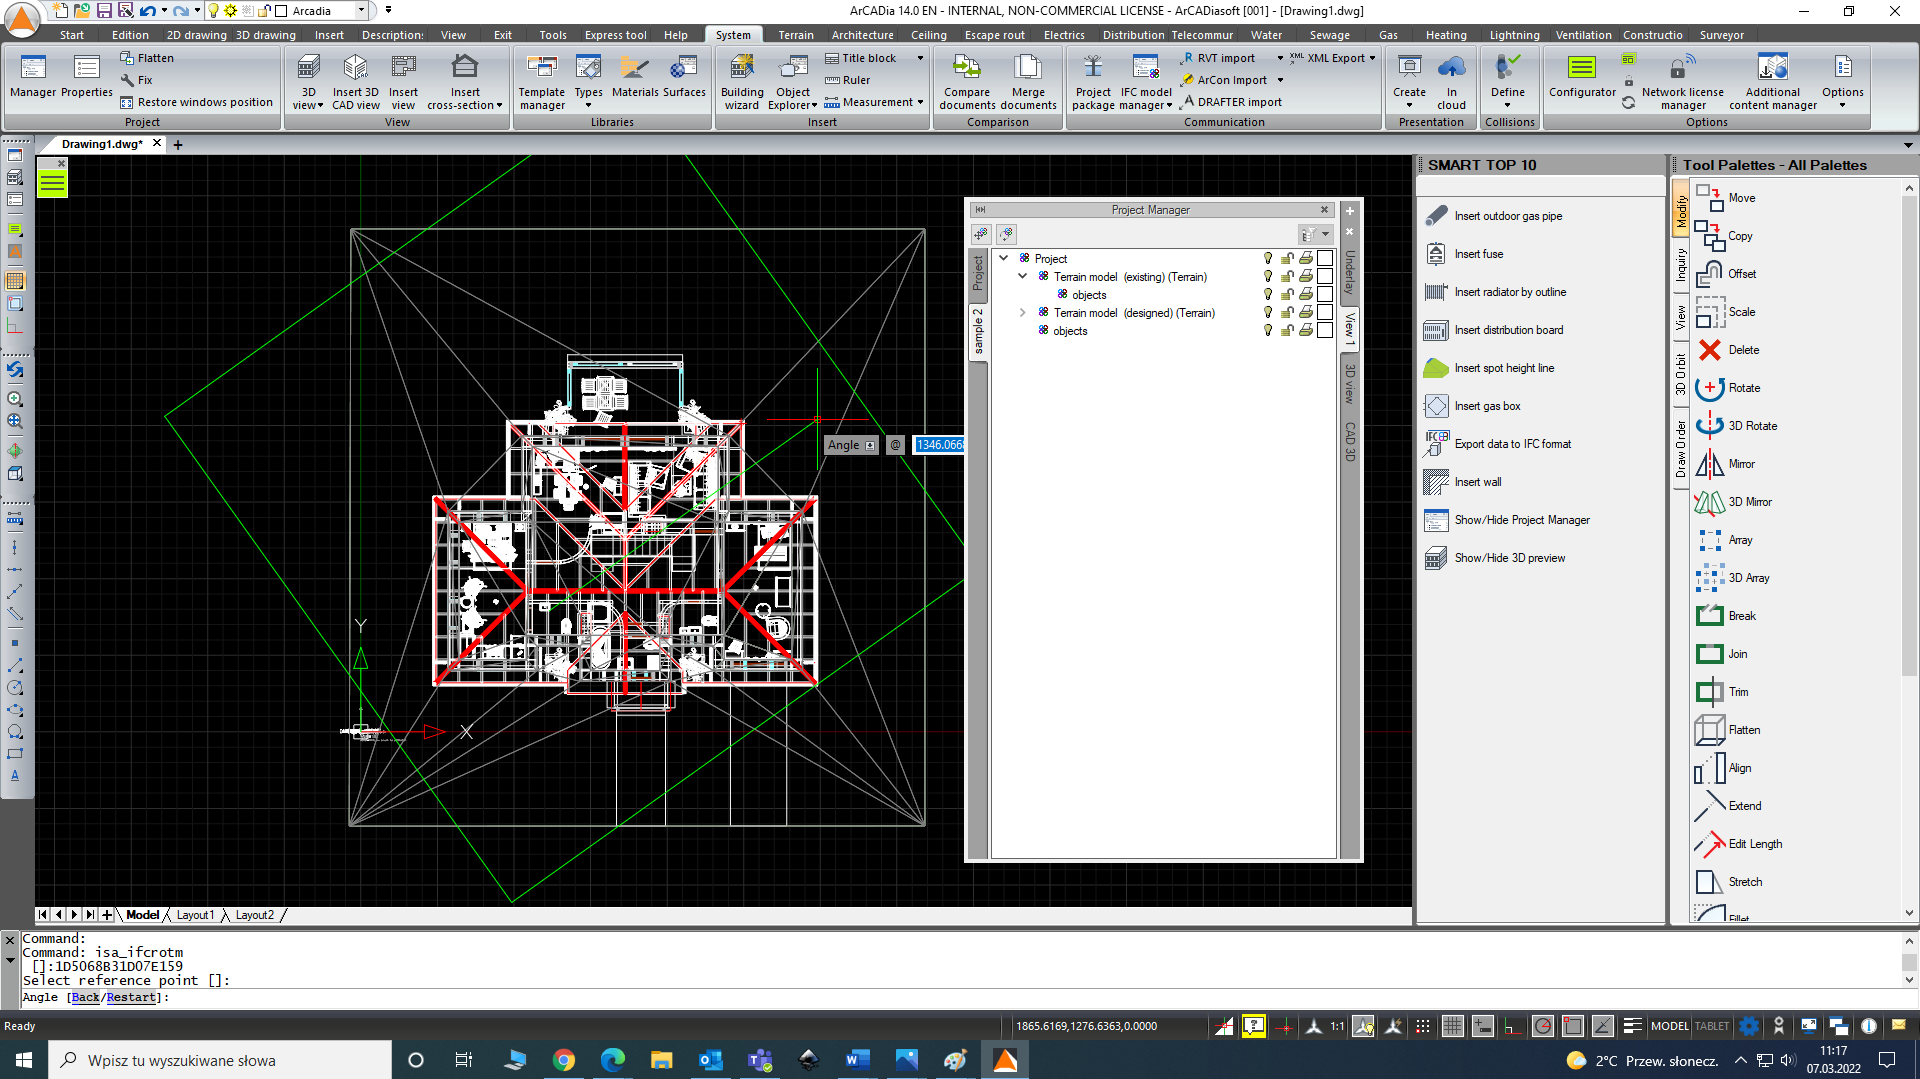
- Move the IFC model - after pressing this icon, the program will ask you to indicate the reference point relative to which the model will move. Indicate this point by clicking on the drawing area, e.g. in the corner of the outer walls and then indicate the new position after moving. You can also use the option to move by a specific value or specify coordinates.
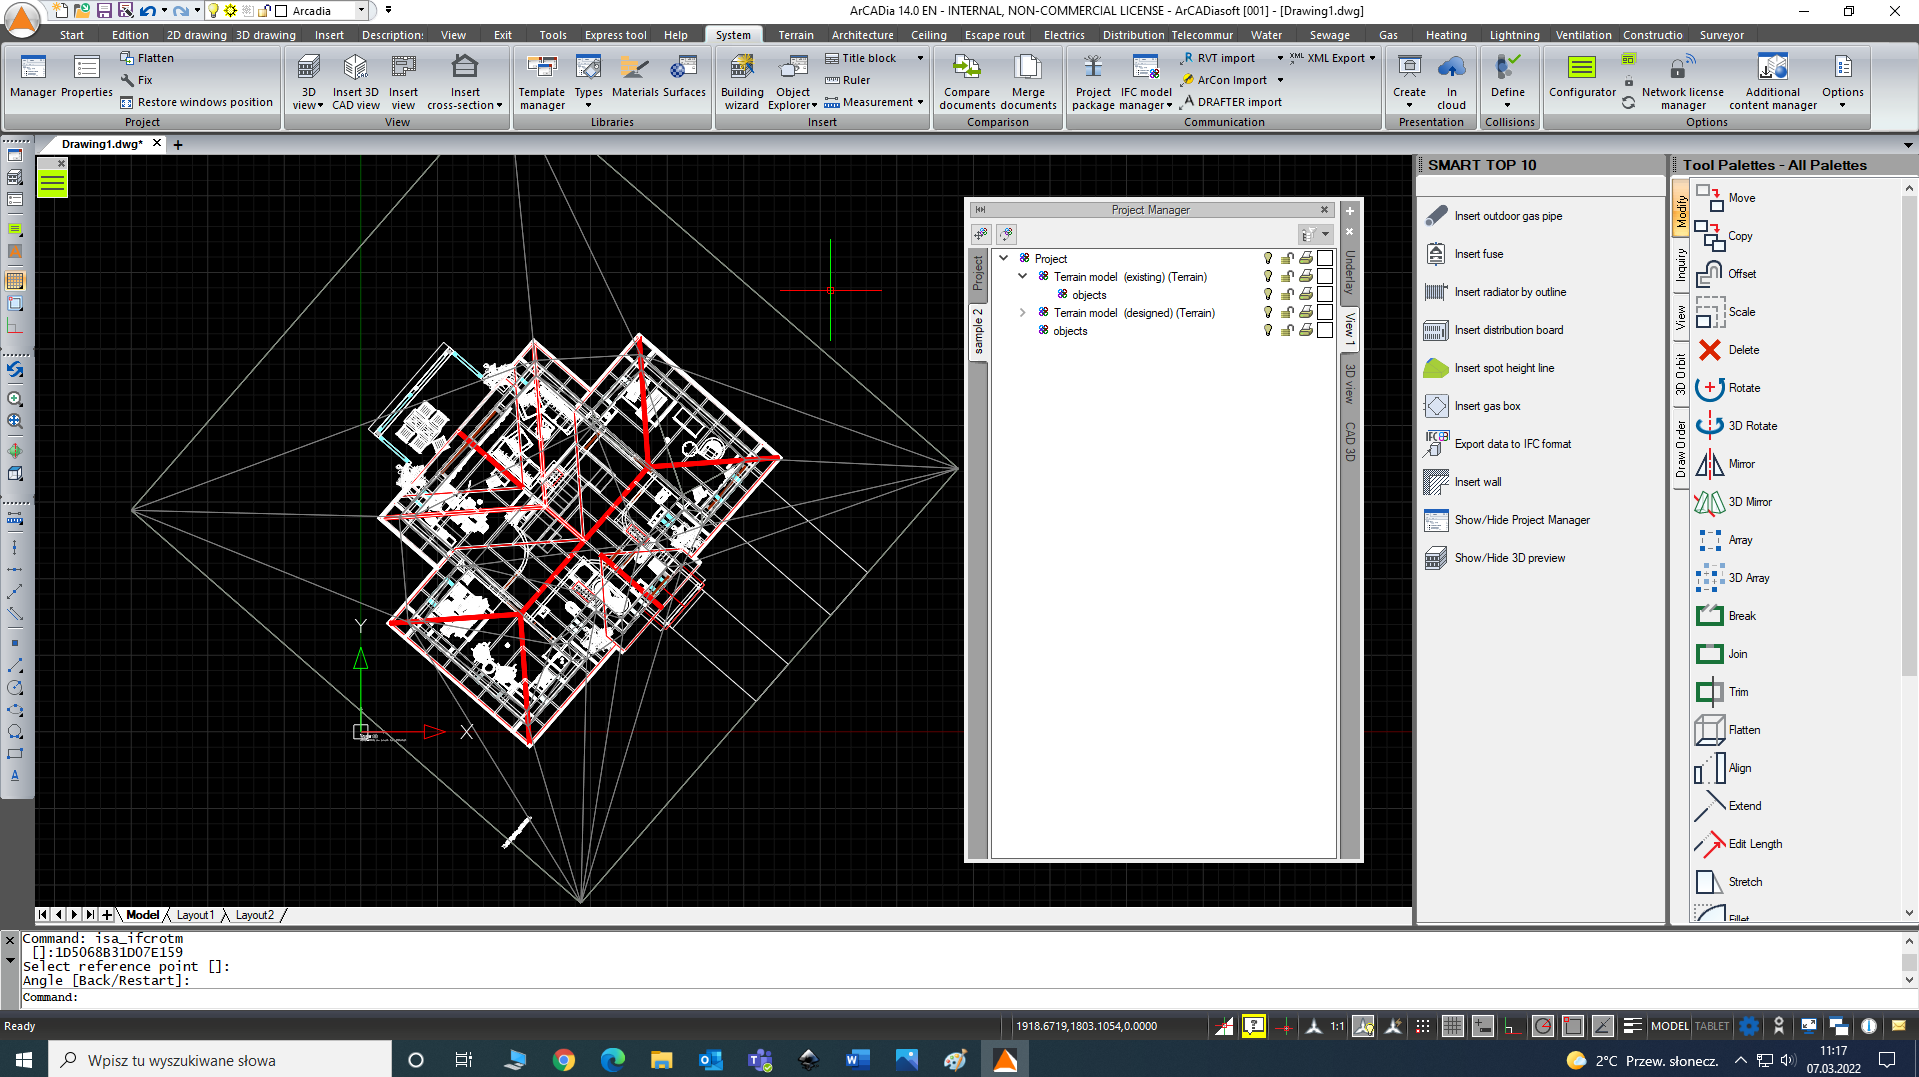
- Rotate the IFC model - after pressing this icon, the program will ask you to indicate the reference point around which the rotation and angle of rotation will occur. You can also indicate the position after rotation in the drawing area.
If you need to change the height of the IFC model in our file, select any element belonging to the model. The 3D object insertion window opens with the option to change the base height of the IFC model.
According to the information on the window, changing the base height will change the height of the entire model, and the lower surface of the selected element will be on the indicated ordinate.
If we do not want the IFC model to be visible in its entirety, we can disable or lock individual elements or levels visible in its tab. We do this exactly the same as in the case of ArCAD elements, by turning off the "bulbs" and locking the "padlocks".
In the imported model, after selecting any element (e.g., a wall), we can read its properties:
Among the parameters that can be read are, i.e., data on heat transfer.
Copyright © 2021 ArCADiasoft
ГОЛОВНА | ПРОДУКЦІЯ | ПРО НАС | КОНТАКТИ | ДЛЯ ПРЕДСТАВНИКІВ


