The Camera, Recording The Observer's Point Of View.
When moving around the three-dimensional space of your project, you can save the observer point of view settings to which you want to return. There can be any number of these points, which are called cameras, in the program. They can be defined inside and outside the building. The camera can be entered in the view as well as in the 3D view.
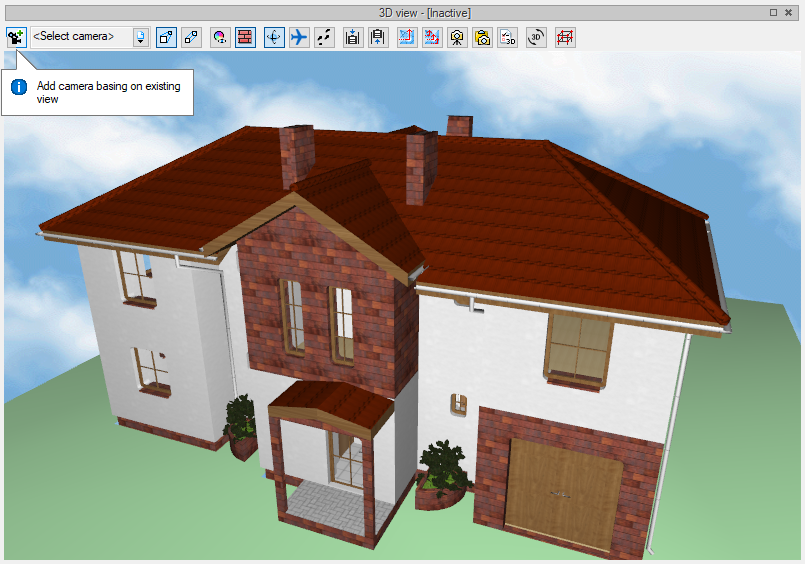
It is easier to define a camera in the 3D view, because the Add camera, based on the existing view option, saves the current view in the proportion and position of the observer's point of view (its coordinates: x, y, z).
After clicking on the Add camera, basing on existing view icon, you can modify the existing camera that we had last selected or add a new one. The name can of course be modified in a way to tell us what it represents.
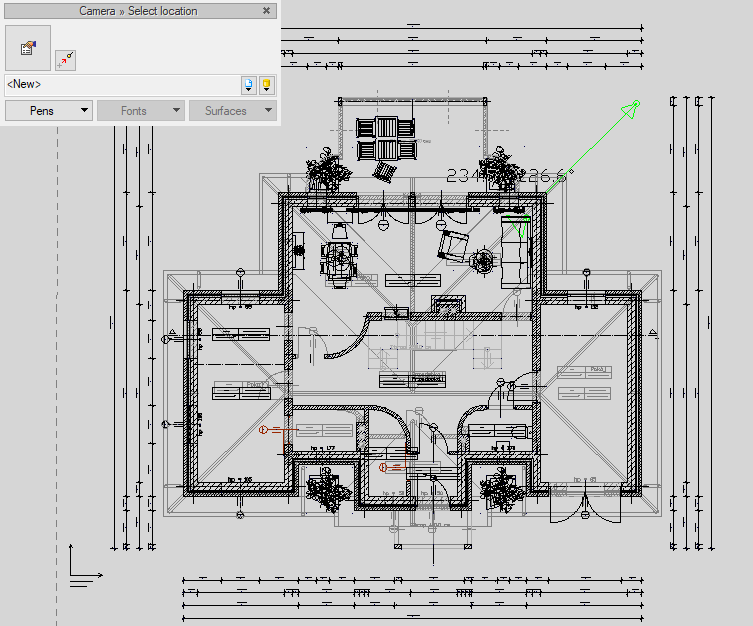
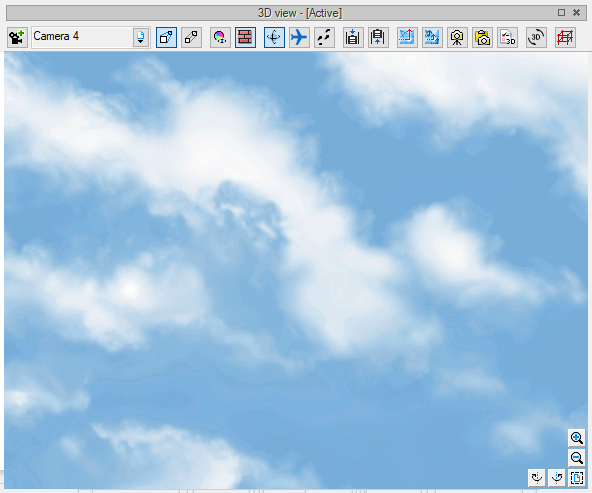
The view shows the location of the camera and what the observer's point of view is. This means that after activating the camera in the 3D view, you can get the following effect:
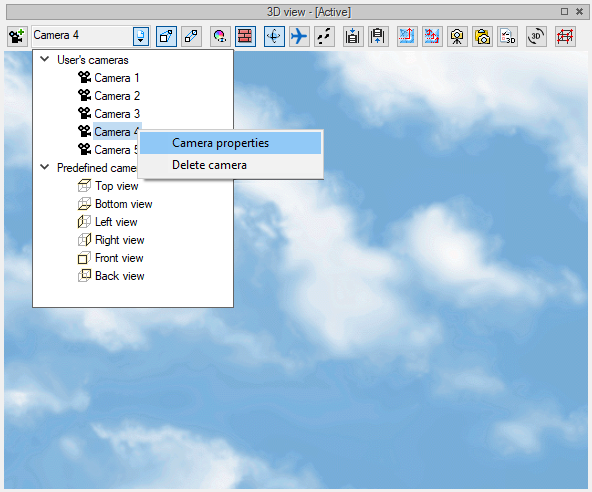
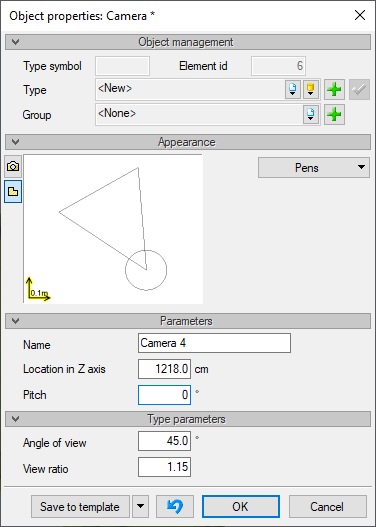
When defining a camera in the view, you do not set its height above sea level, as is defined for the building. Hence, it may happen that the camera will be placed at 0 m above sea level, and the building will be e.g. at 120 m above sea level. In such a situation, you should enter the camera properties in the view or in the 3D view and change its settings so that the building is visible.
In the camera properties you can change the Z-axis position, tilt, angle of view and proportions, which will change the 3D view window every time you use the camera.
Copyright © 2021 ArCADiasoft
ГОЛОВНА | ПРОДУКЦІЯ | ПРО НАС | КОНТАКТИ | ДЛЯ ПРЕДСТАВНИКІВ


