ArCADia - Adding Levels
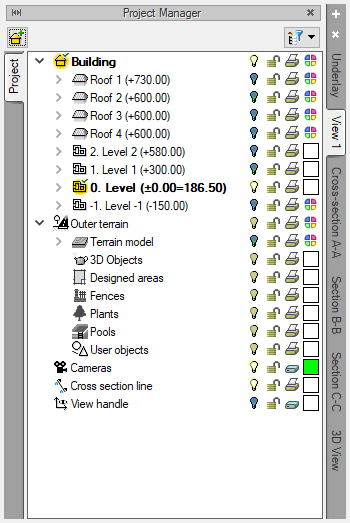
A new level can only be added in the Project Manager window by selecting (clicking) the existing level and adding a floor above or below it respectively.
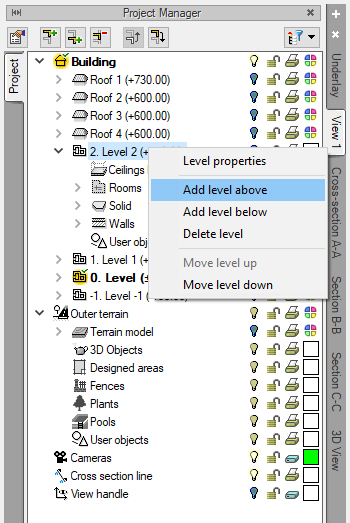
To add a new level, click on the name of the existing level and either from the icons that appear at the top of the Project Manager window or by right-clicking from the context menu, select Add level above or Add level below.
If you choose to insert a level below, the level will be placed below the existing one in the design tree and the elements drawn on it will also be placed below in the 3D view. Similarly, if you choose to insert a level above, then all elements from that level will be placed as above in the project tree and in the project itself.
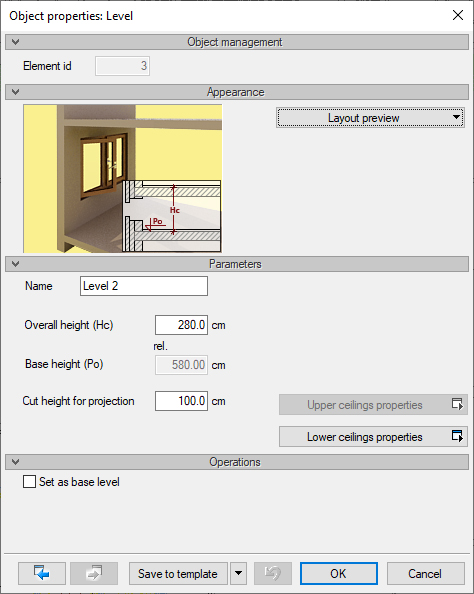
In the above window we name a level and we define its height.
PLEASE NOTE: the height of the level in the ArCADia BIM system is calculated from the base ceiling to the base ceiling of the level above, i.e. the floor is not included.
If the new level is to be different from the existing one, in outline and other elements, after specifying the name and height, close the window with OK button.
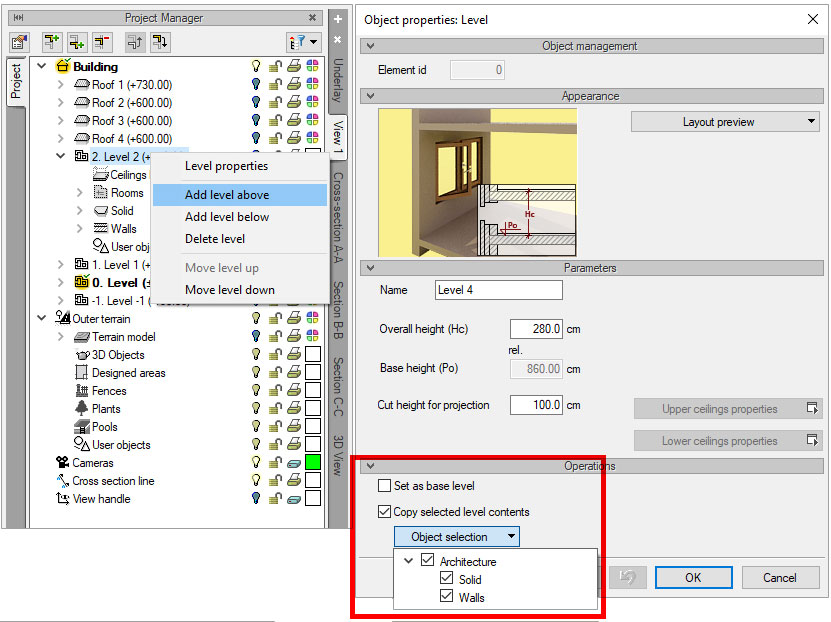
If, on the other hand, we need something from the existing level or we even want to copy everything, then before closing the window we have to choose Copy the content of the selected level option and from the list we select the elements that we want to be copied.
In the above list there are only the main elements of the level, there are no elements belonging to others, i.e. those which cannot exist without others, e.g. windows or doors. If we do not have a wall, we will not insert a window or a door.
Therefore, these elements belong to the wall and they are not on the list because walls are always copied with the elements belonging to them. If the woodwork is not needed later, we simply remove it. But when we are copying them, they will be moved. After approving the addition of a level, the Project Manager window is changed, the new name of the level is displayed in it and the program will automatically switch the project to this level.
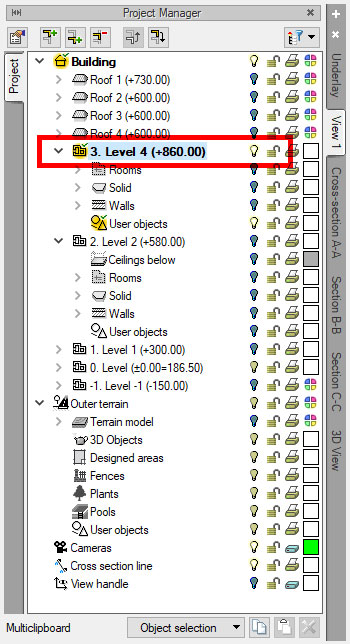
To switch between levels we need to double-click on this one we want to be active. Then the icon in front of this level will turn yellow. This way we can see the active level.
Copyright © 2021 ArCADiasoft
HOME | PRODUCTS | COMPANY | CONTACT | FOR RESELLERS


