


ArCADia BIM - Title Block
To sign the drawing, the program allows you to enter a defined title block or create your own table. Below is a description of how to create the title block which is on the picture.
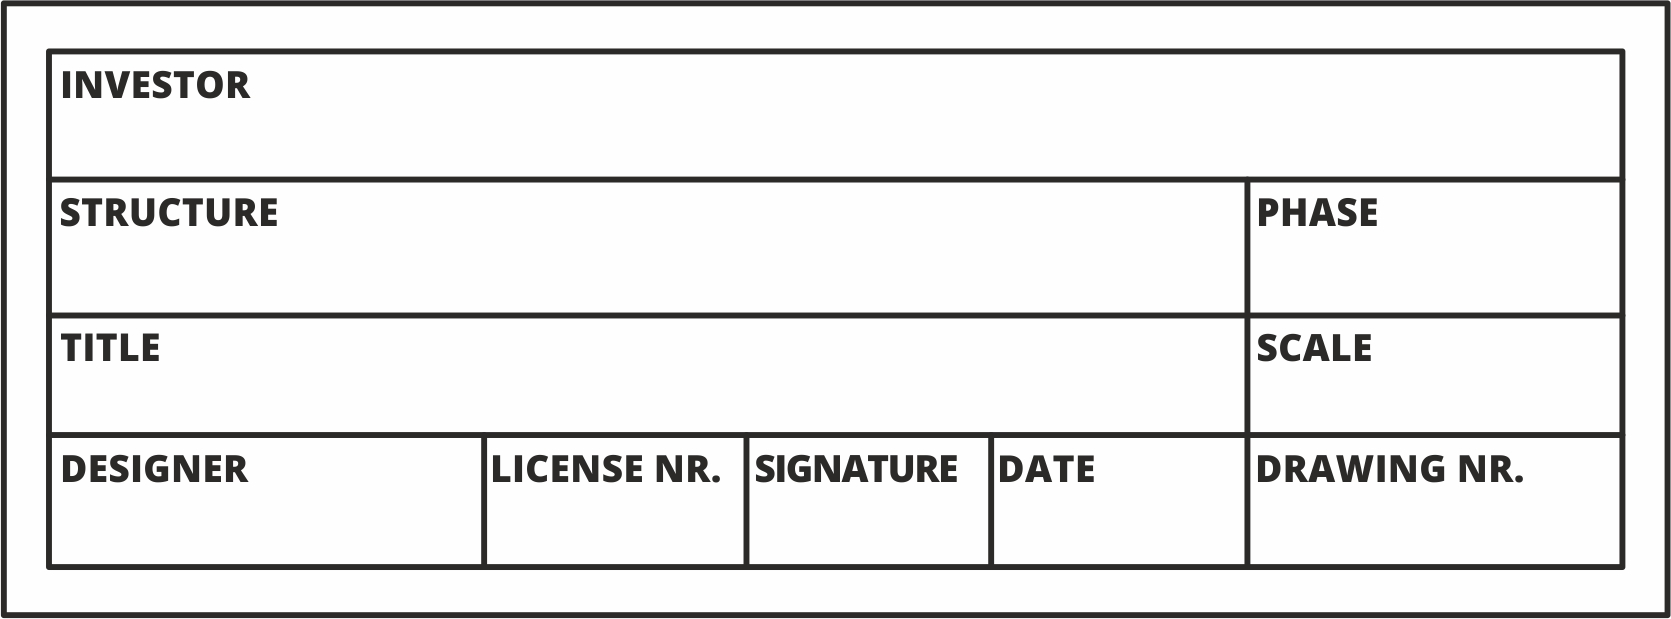
The project in the program is drawn on a scale of 1:1, but we print on a scale of 1:50, 1:100 etc. You must remember this when creating a title block, because unlike the whole drawing, it should be drawn in the print dimensions. That is why we start creating the title block by determining on what scale it will be used. This table will be on a scale of 1:50. We choose System, the Insert tab, and the Design title block option.

When designing the title block, remember that in one cell the text is entered only in one verse. You cannot type two paragraphs in one cell. This means that for the above table we should set 8 lines (a separate cell for text of the INVESTOR type and separate for the text entered into the table) and 5 columns. The size of the table on the printout will be 14x8cm, which means that for the scale of 1:50 you must enter a width of 700 cm and a height of 400 cm.

After confirming the entry, the properties window will open.

You can now modify the title block. Let’s start with connecting cells. You can use the following buttons.

We select the first cell and connect to all cells to the right.

You proceed analogously with the following line.

The subsequent four rows are divided into two columns, so you combine four cells in the third row.

Basically, the outline of the table is ready, now you need to turn off the lines that connect the cells, which will give the impression that it will be one cell. Again, select the first cell from the top and turn off the bottom edge of the cell from the icons below.


We work similarly with the rest of the cells.

The pen thickness and type is set under the Pens button.

You can now define the texts. Start with defined texts, i.e. the Investor, designer, etc. Select the first cell and select the appropriate word from the Text list. We proceed similarly with subsequent defined texts.

The position of the entered text is defined with the following icons.

You can define 3 different types of fonts in the table. First, let's define one and the same Heading for the defined texts, Content 1 and 2, which will be useful when completing the table.

The font size of subsequent Head Line is defined with the Fonts button.

If there is no defined text in the list, you can enter it in the Text field.

The other texts can be entered manually or by using the Project Options button that opens the below window.

Each cell is responsible for the automatic text that fills in the table.
At the end of the title block definition, you save it as a Type to the global library. It is helpful if the scale in which the table is to be used will be in the name of this table to make it easier to choose the correct one.

Copyright © 2026 ArCADiasoft
HOME | PRODUCTS | COMPANY | CONTACT | FOR RESELLERS