ArCADia BIM: Adding Groups in the Project Manager
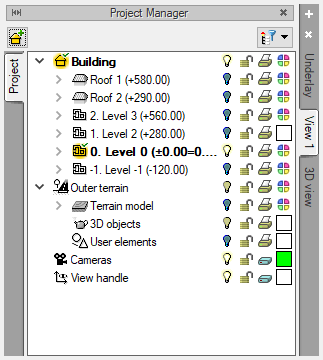
The Project Manager window shows all the elements of a given building or level available in a given view. These elements can be divided into groups, for example to be able to quickly and easily select and modify elements of a given group.
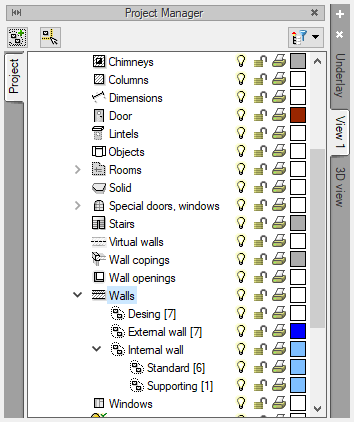
You can divide wall elements into groups of external and internal walls. The internal walls can also be divided into load-bearing (Standard) and non-load bearing (Supporting) ones, thanks to which you can select the whole group, e.g. to delete or change the thickness or material.
How to add a group?
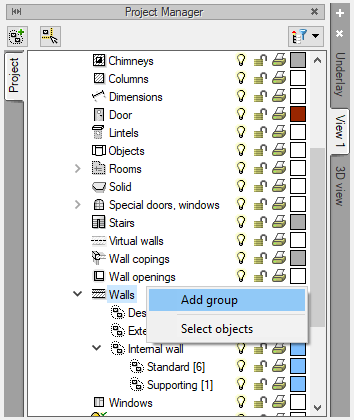
Click the left mouse button and then the right mouse button on the name of the element that you want to divide.
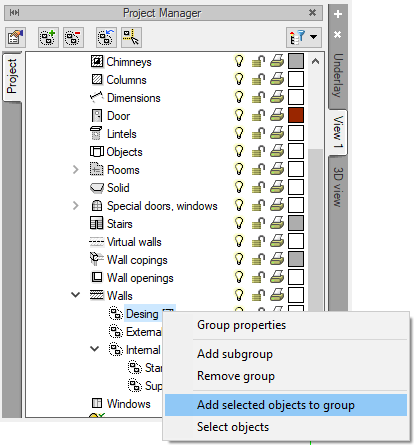
Select Add group, enter the name in the displayed window. Then select the elements to be included in this group and by clicking first with the left and then with the right buttons select Add selected objects to group.
The usability of groups depends on the project. For example, in a multi-family building, the division of rooms may take place around the apartment. In another project, you may want to sort furnishings into rooms. This procedure is good when you want to create a rendering, because with a larger project you should turn off some elements that cannot be seen in the scene.
Copyright © 2021 ArCADiasoft
HOME | PRODUCTS | COMPANY | CONTACT | FOR RESELLERS


