x

SALE
  1. en
  2. de
  3. uk
Description Of Component Association
26 January 2021

ArCADia BIM: Defining Textures On a Wall

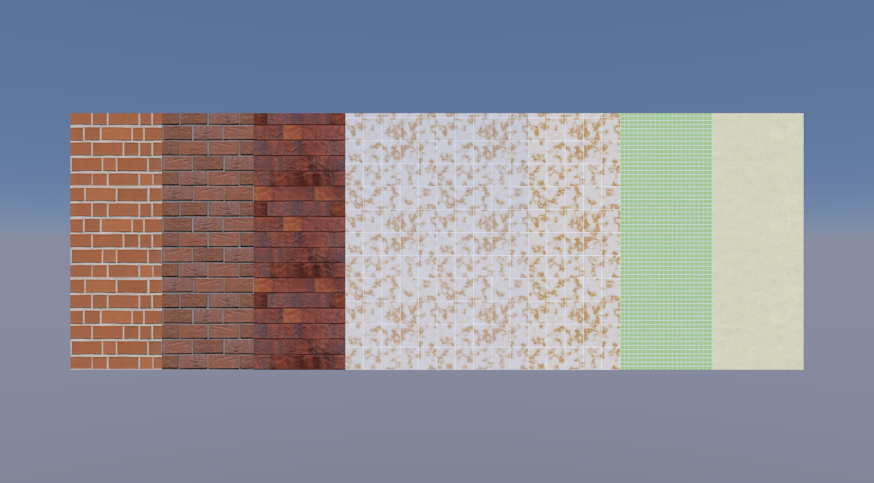
A wall, like most ArCADia elements, has the option of adding a material on its surface. The material can be selected from the program's library as a Predefined surface or a file in BMP, JPG or PNG format as a Textured surface. Both "texturing" methods are available under the Surfaces button in the properties window or the edit window.


ArCADia BIM: Defining Textures On a Wall


ArCADia BIM: Defining Textures On a Wall


The predefined surface is selected from the  icon from the list of available materials in the program. This library cannot be expanded or edited. The selection is made only by indicating the name of the material, which, unfortunately, cannot be previewed. But after a few projects, you will more or less remember what the material looks like.

ArCADia BIM: Defining Textures On a Wall


ArCADia BIM: Defining Textures On a Wall


If you do not like to choose the material randomly, you also have the Textured Surfaces, which are available under the icon http://arcadia-architektura.pl/gfx/2014/05/t5.png .


http://arcadia-architektura.pl/gfx/2014/05/t7.png  allows you to select any BMP, JPG or PNG file (preferably if the texture size is a multiple of the 256 x 256 pixels format). After selecting the texture, you can also adjust its size (for example, change the tiles on the wall from 100x100cm to 25x35cm), the angle of insertion, transparency and the degree of mirror reflection along with its colour. In addition, the selected texture can be "mixed" with one of the colours available in the Windows system, remembering that if you mix the texture of a red brick with a green, you will not get a green brick, but rather brown, which is the result after mixing red with green colours. If you applied a monochrome texture, there would be the option to add a colour that would not blend with another one, and give the correct result.


ArCADia BIM: Defining Textures On a Wall


ArCADia BIM: Defining Textures On a Wall


ArCADia BIM: Defining Textures On a Wall


NOTE: Remember not to move or change the name of the selected texture or the name of the directory in which it is located. Move the often-used textures to the ArCADia textures catalogue and download them to the project from there. The program only saves the path to the file and if it changes, the program will not find it.

A wall can be textured on the right, left, or its sides, which is visible on the edge of the wall and in its openings. But how do you know which side of the wall is left and which side is right? After selecting a wall, the direction in which the wall was drawn is shown in the view.


ArCADia BIM: Defining Textures On a Wall


From the arrow direction, you can see which side is which and texture the appropriate one.


ArCADia BIM: Defining Textures On a Wall


Please note that the wall is textured along its entire length on the indicated side. This means that if a wall passes through several rooms, all rooms will have the same texture on that wall surface.

ArCADia BIM: Defining Textures On a Wall


In order for the wall to be textured differently in each room, it should be divided.

ArCADia BIM: Defining Textures On a Wall


To divide a wall, choose wall, select the Split wall http://arcadia-architektura.pl/gfx/2014/05/t14.png  option in the edit window and indicate the place of division (preferably where it joins another wall). If a wall needs to be divided into several parts, after indicating the division point, select the wall again and repeat the process. After dividing the wall, you can texture each room in different colours.


ArCADia BIM: Defining Textures On a Wall

Copyright © 2021 ArCADiasoft

HOME  |  PRODUCTS  |  COMPANY  |  CONTACT  |  FOR RESELLERS