


How to Introduce ArCADia Elements into a Flat Drawing.
I would not recommend using this method as it will slow down the program a bit, but if all the following comments are applied, you can make use of it. If you have a project drawn with lines with levels arranged above or next to each other, you will have to outline the project.

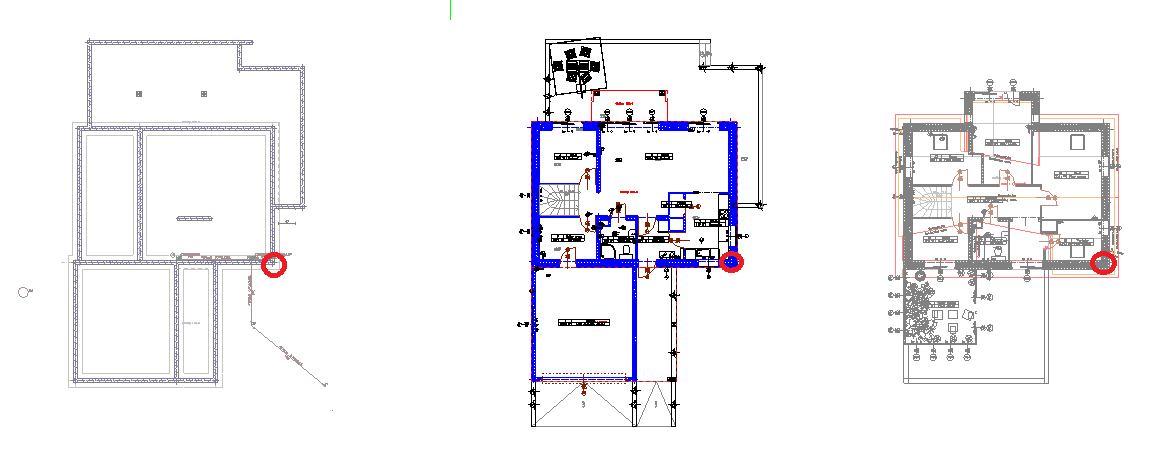
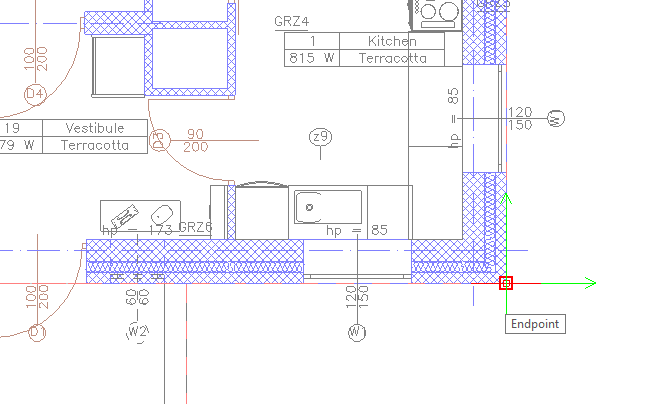
The Convert line into wall option will not be of use here, because you will draw it quicker by showing the beginning and the end. But before you start drawing, let's check on the view if there is any point that repeats on each level. In the above case, I suggest the lower right corner of the level, in the main part of the building. This is where the view should be inserted.
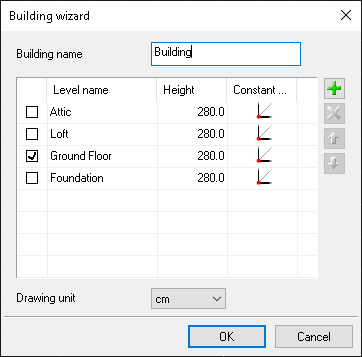
From the Insert Ribbon, select the Building wizard icon 
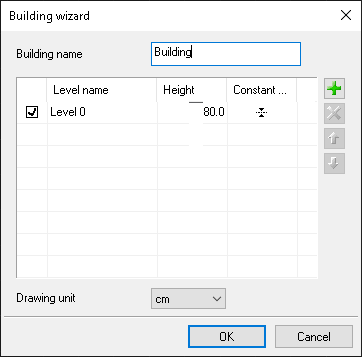
In the above window, you add a name for the building and with the Add icon  you enter as many levels as are required.
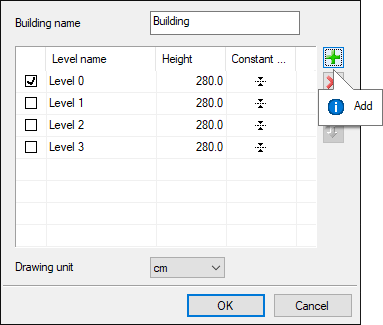
By clicking on each level, you change its name, remembering that the level marked with a filled square is our base level. All levels below this floor will be entered below the "ground floor", and the levels above this floor will be subsequent levels of the building. The order of the levels can by changed with these icons 
 .
.
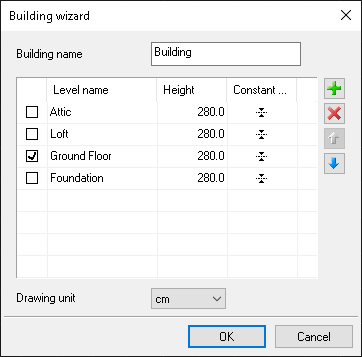
In the above window, you can also change the levels heights or leave it for later editing. Before closing the window, a Constant point should be shown for each level. To do this, click on the icon  (e.g. for the Ground floor) and place the marker of the coordinate system in the corner of the building on the drawn ground floor.
We do the same with subsequent Constant points.
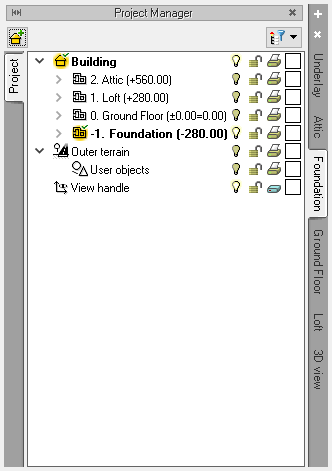
Now you can approve the window and proceed to drawing.In the Project Manager window, each level is active on a separate tab. Switching between levels is done by clicking on the appropriate tab.
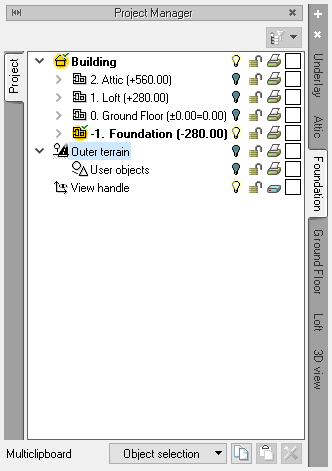
As each wall will be shown in all views when drawing, the program may start to work slower at the third level. It would then be a good idea to leave only the active level turned on (blue bulb) in the View tab. On the remaining levels, click on the light bulb icon to turn off the views. However, let's switch off only those levels where you have already drawn elements, otherwise the newly introduced elements will be visible anyway.
Copyright © 2026 ArCADiasoft
HOME | PRODUCTS | COMPANY | CONTACT | FOR RESELLERS