PRINTING IN ARCADIA LT
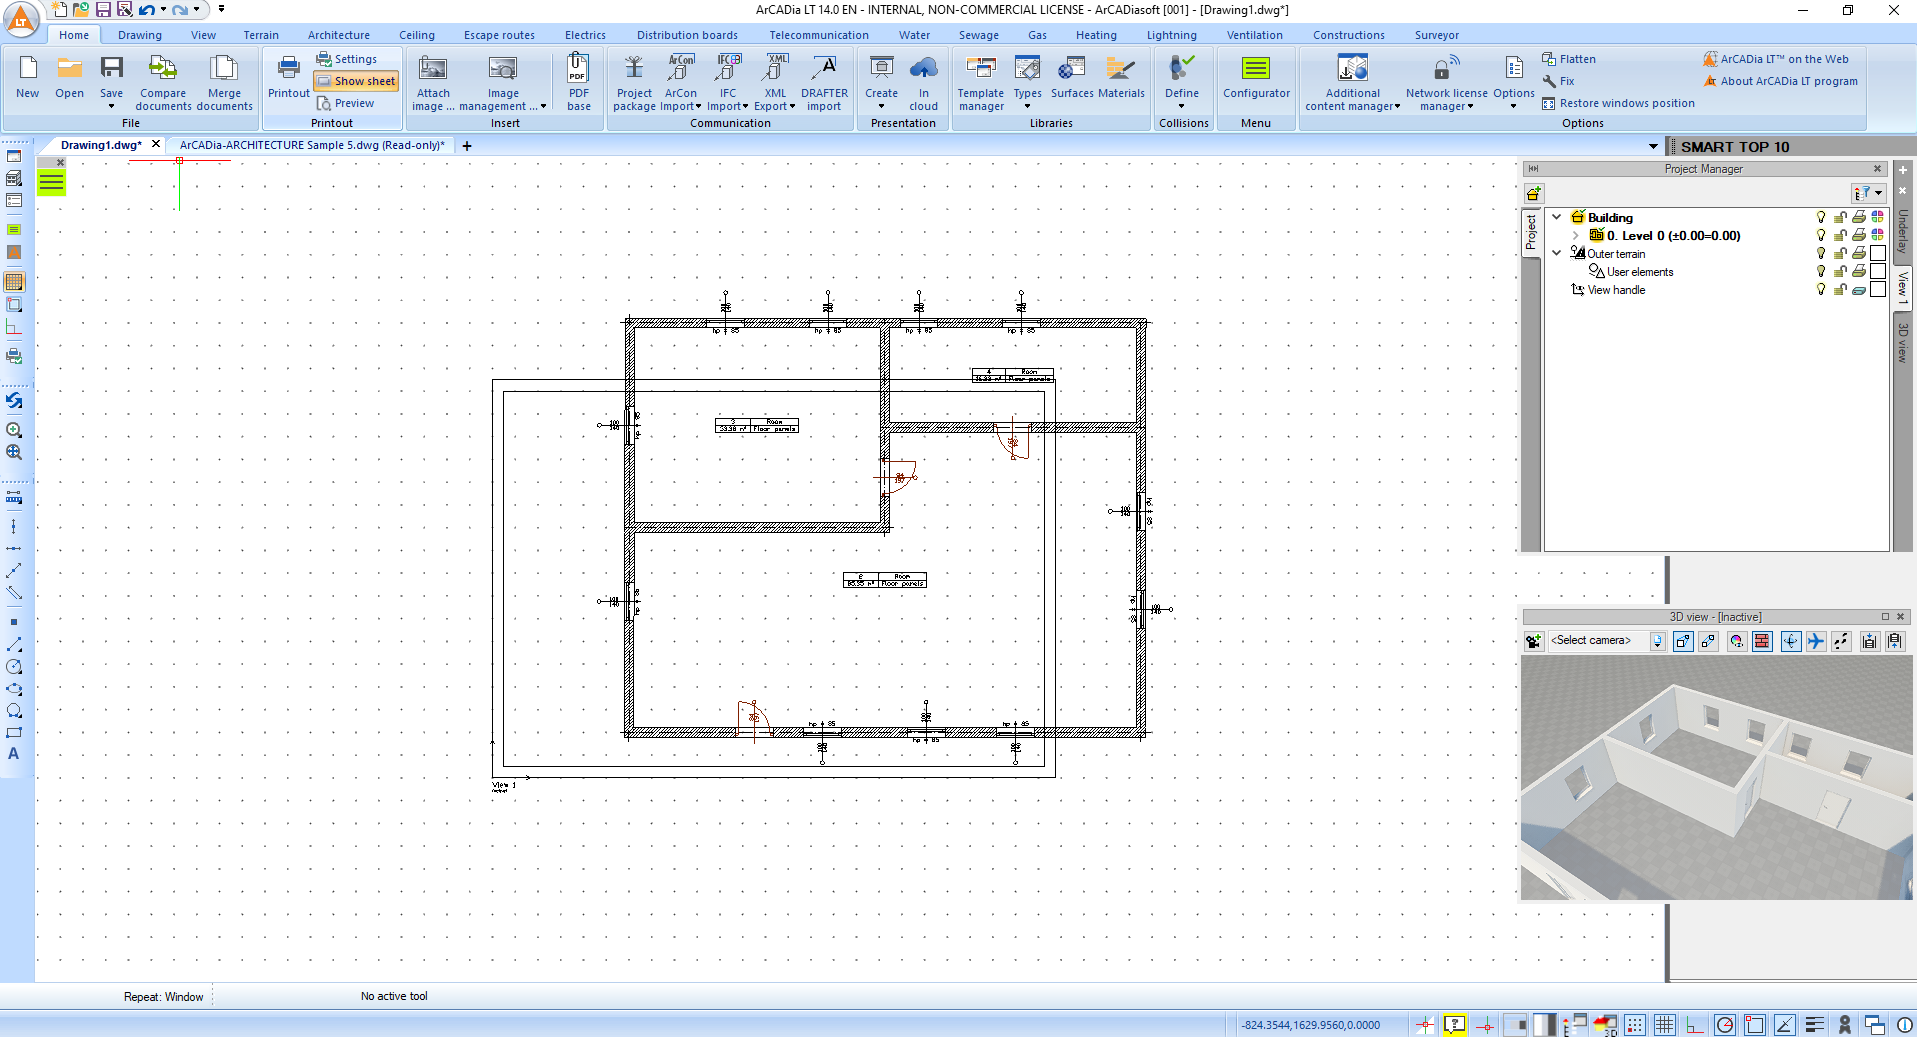
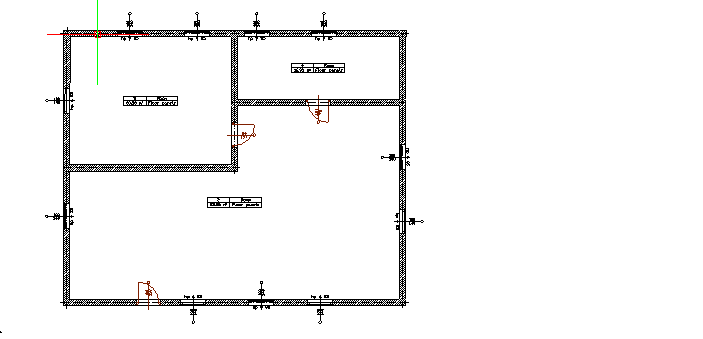
Only what is in the sheet frame is printed in ArCADia LT. There are no additional tabs with complicated paper areas, or strange calculations to make the sheet print at the right scale. We define everything in the print settings and only move the sheet, when printing more drawings.
Before turning on printing, press the Show Sheet icon (to see where the sheet's frame is and move it before printing a section of the design).

If the sheet frame is too small or too large then we do not scale it, but go into the Print Settings and change the sheet size or scale.
In general, we do not perform any operations on the sheet except moving it. If the sheet is to be vertical, then we do not rotate it, but change its orientation in the settings window if the sheet bothers us, then we turn off the Show Sheet icon, and do not delete it with the Delete option.
Sheet formats are taken from the printer
Printer options are available from the Printer Settings button.
In addition to the format, in the above window you set the scale, frame and "color" of the printout. Black and white or color settings apply only to elements drawn in the program. The color of the entered raster is not taken into account here. If the printout is to be completely black and white, then in addition to checking Print in black and white, you still need to set the printout the same way in the printer properties. Otherwise, for example, the printed map may have red stamps.
As for the scale settings, remember that ArCADia draws in centimeters by default, if you want to modify this you do not need to leave the window, just change the Drawing Units in the drawing area.
Copyright © 2021 ArCADiasoft
HOME | PRODUCTS | COMPANY | CONTACT | FOR RESELLERS


